Saturday 17 May 2014

DIY #7 - Leather phone pouch

 Today, I decided to try dealing with leather, faux leather actually, this is my first time attempting so it will just be a plain simple design of a iPhone pouch/cover. Let's begin !


You'll need :
- Clippers                                                       - Tracing wheel
- Thread                                                         - Candle
- Blade / scissors                                            - Needle
- Leather ( got it from my old journal cover )


Start designing first. I followed my third design.


 2 rectangular size leather measuring aprox. 13 x 8.8 cm each is cut out to fit my iPhone 4.

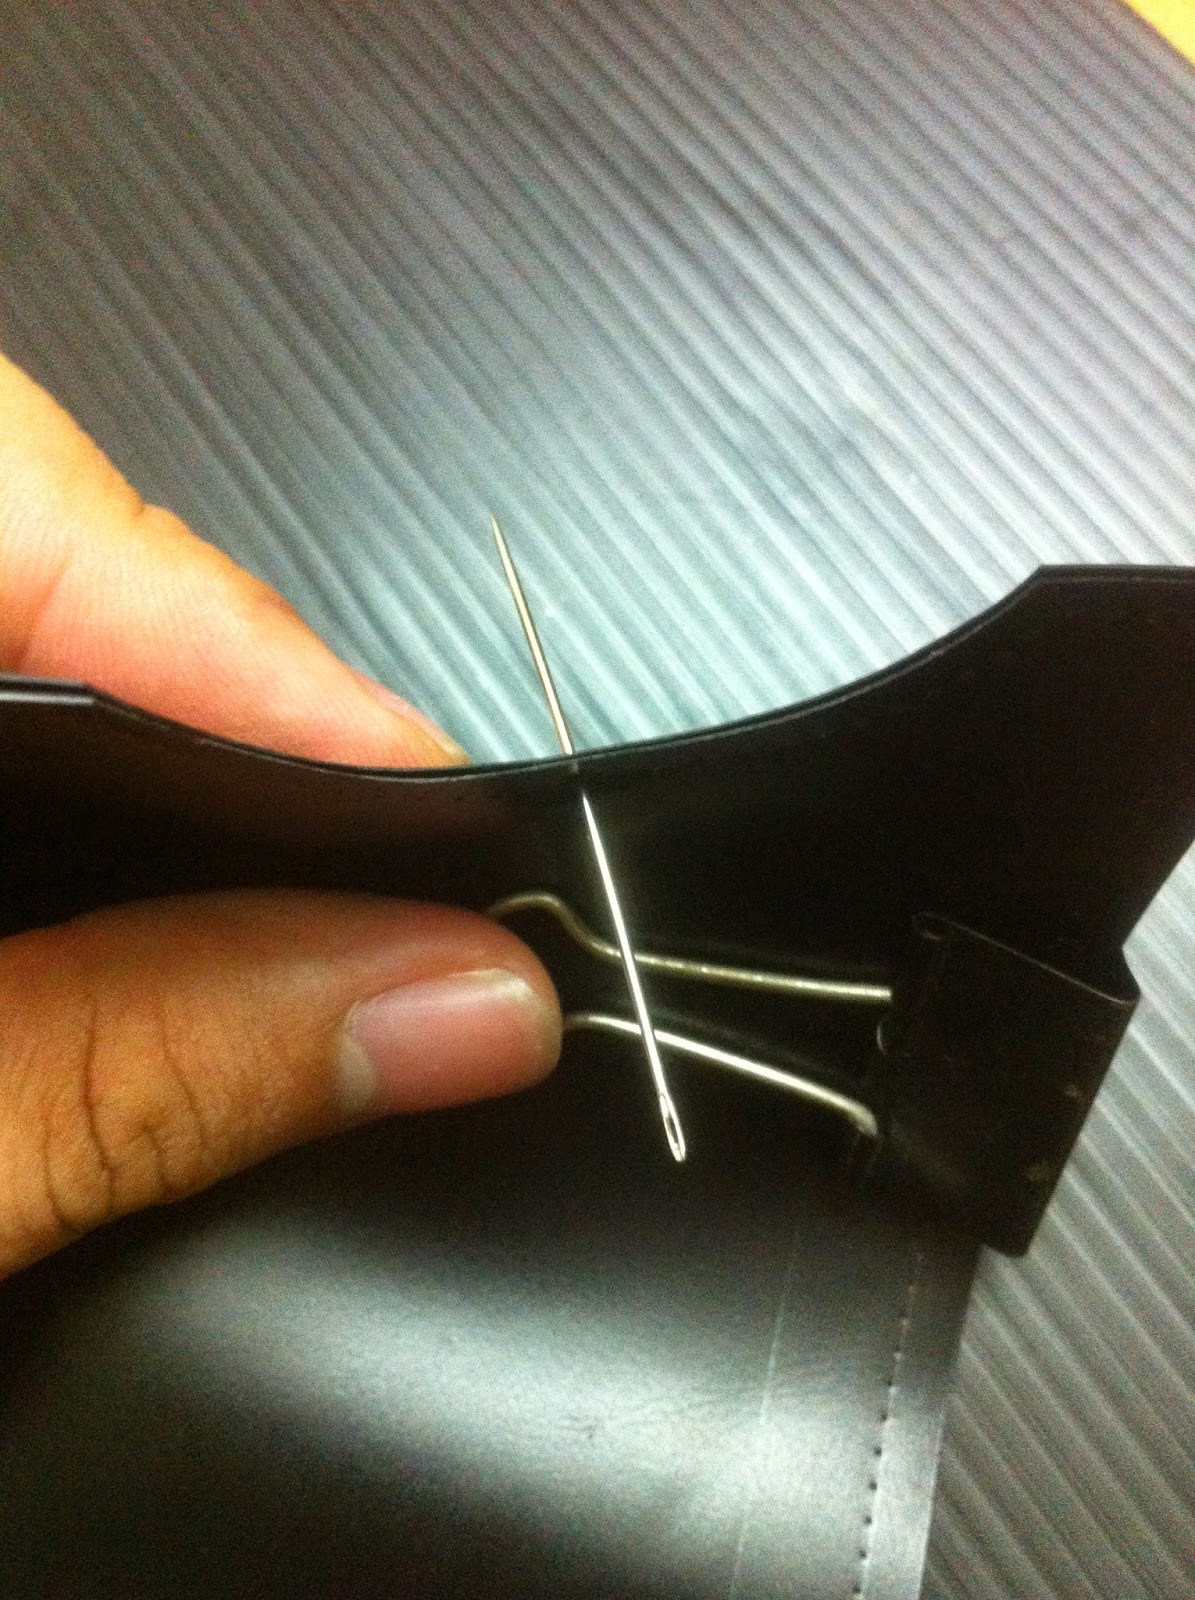
 Clip both pieces of leather together 

 Start designing !

 I used a tracing wheel to mark my stitching spots. 


 Make sure to curve the edges, it looks neater. Start by poking holes with a needle before starting if you can's handle the thickness of the leather. 


 Thread + wax, like how craftsman did them. 

 Start with the basic alternate stitch going up and down.


 Repeat the process when stitching back. make sure for the openings, do not stitch both leather together. i sew it on each opening ends to give it some details.

Continue on stitching, you may use the double stitch method but I was too exhausted to continue so I left it just like that, simple & plain. Feel free to go personalize it, using flower petals, glitters, etc... think creative !

Thank you so much for dropping by. see you xoxo


Friday 16 May 2014

DIY #6 - Chanel Pearl Bracelet & Rings


     Chanel knows best when it comes to creating statement accessories and obviously Karl L. did it again, this time with oversized pearl accessories. If you have followed me a few months back, you'll noticed that this is my 2nd DIY for Chanel's Spring Summer 2014 collection. YES ! I'm that obsessed !

So if you're a fan of Chanel & pearls, this might just be the ideal DIY for you. Plus, this is by far the CHEAPEST DIY I've ever done and no I am not kidding, literally I bought those pearls for only RM 3 ( USD $1 ) the shop was having a clearance so the buy 3-free-1 and RM 1/ pack promotion was on, guess it was my lucky day ! Keep scrolling for full  instructions.


You'll need ( for bracelet ) :
- 2 giant pearls of your own choice, mine was 250 mm
- a wire
- UHU a.k.a E6000 Glue
- 2 bead caps

You'll need ( for ring ) :
- keychain rings / thin wire
- pearls of your choice, I used 3 100 mm & 1 200 mm pearls
- glue

 Measure out how much wire you'll need around your wrist and then cut the wire with a pair of pliers or wire cutter. Apply a generous amount of glue onto the wire and insert it into the pearl.

 Apply more glue on top and place the bead cap on. 

Repeat the same procedure for the other pearl. Then, allow the glue to set completely ( Waiting sucks I know, patience is a virtue right ? ) 

 For the rings, cut open the keychain rings, I have big fingers, so they fir me just right. 

 The next steps are exactly the same as the bracelet. 

These are some of the rings I've done, you can bend the wire to give it some shape, experiment with it.

TAA-DAAA your Chanel inspired Pearl accessories are done. What more could I say, DIY's are the best right ladies ? Comment for any inquiries and thank you for reading. xoxo

Photos by : me