Saturday 7 June 2014

DIY #8 - FENDI Bag Bugs

1st & 2nd release of bugs from F/W 13 & holiday collection 
     FENDI bag bugs, charm, monster, buggies ? You name it. These adorable soft, fluffy bugs are back again with their 3rd comeback. Made in Italy with dyed mink fur ( a type of squirrel )  these bugs ( S/S14 Collection ) however features a pair of crystal button eyes, that are so sparkly, shoppers can't resist but to get one, it's almost like temptation curse ! Shoppers get their hands out them as quickly as FENDI made them. 

Measuring approximately 2 1/3'' in diameter  x 1 1/2'' D with 4 different colour combinations, these babies were retailed for USD $800 via Neiman Marcus, a $100 more than their other relatives. Since Malaysia's FENDI doesn't carry them ( IKR, HUGE DISAPPOINTMENT ), do check them out at Singapore's FENDI boutique ( since they're the nearest ) at Marina Bay Sands & Ngee Ann City IF its's still available ( probably sold out last month ).

Second option, if you're like me - DESPERATE, OBSESSED, CAN'T AFFORD. Why not DIY one ?

my inspiration from the s/s14 collection
You'll need :

- Felt 
- 2 gemstones 
- needle and thread
- leather strip
- Faux fur boots cover ( got mine from Daiso )
- key chain, carabiner 
- UHU Glue


sew two pieces of leather ( 18cm fold in half )together with the connecting ring and connect to the key ring and carabiner
flip it inside out


sew it together with the leather facing downwards.

almost there ....

try out different looks with the felt, decided on 3rd design
sew everything on


comb all the fur outwards from 1 point 
apply a small patch of glue and place it on
sew the face onto the fur


stuff some cotton in, and sew the bottom part together, using the fold and hide technique. i'm not sure how to explain this part, but just fold and sew along so the circumference gets smaller every time u fold. 

this step is optional, but why not ? 

I added a little water to the paint to dilute it, as you apply make sure to comb it. Blow dry it later on.

DONE ! you may style the fur with hairspray or max to keep them in shape 

How similar is my DIY to the real deal ? I've spend only RM 6 ( approx USD$ 2) - fur cover & gems in total for this project, the other materials were leftovers from other projects. So, will you still spend $800 on this bug ? you decide ! Comment below for any enquiries, thank you for dropping by. 

Saturday 17 May 2014

DIY #7 - Leather phone pouch

 Today, I decided to try dealing with leather, faux leather actually, this is my first time attempting so it will just be a plain simple design of a iPhone pouch/cover. Let's begin !


You'll need :
- Clippers                                                       - Tracing wheel
- Thread                                                         - Candle
- Blade / scissors                                            - Needle
- Leather ( got it from my old journal cover )


Start designing first. I followed my third design.


 2 rectangular size leather measuring aprox. 13 x 8.8 cm each is cut out to fit my iPhone 4.

 Clip both pieces of leather together 

 Start designing !

 I used a tracing wheel to mark my stitching spots. 


 Make sure to curve the edges, it looks neater. Start by poking holes with a needle before starting if you can's handle the thickness of the leather. 


 Thread + wax, like how craftsman did them. 

 Start with the basic alternate stitch going up and down.


 Repeat the process when stitching back. make sure for the openings, do not stitch both leather together. i sew it on each opening ends to give it some details.

Continue on stitching, you may use the double stitch method but I was too exhausted to continue so I left it just like that, simple & plain. Feel free to go personalize it, using flower petals, glitters, etc... think creative !

Thank you so much for dropping by. see you xoxo


Friday 16 May 2014

DIY #6 - Chanel Pearl Bracelet & Rings


     Chanel knows best when it comes to creating statement accessories and obviously Karl L. did it again, this time with oversized pearl accessories. If you have followed me a few months back, you'll noticed that this is my 2nd DIY for Chanel's Spring Summer 2014 collection. YES ! I'm that obsessed !

So if you're a fan of Chanel & pearls, this might just be the ideal DIY for you. Plus, this is by far the CHEAPEST DIY I've ever done and no I am not kidding, literally I bought those pearls for only RM 3 ( USD $1 ) the shop was having a clearance so the buy 3-free-1 and RM 1/ pack promotion was on, guess it was my lucky day ! Keep scrolling for full  instructions.


You'll need ( for bracelet ) :
- 2 giant pearls of your own choice, mine was 250 mm
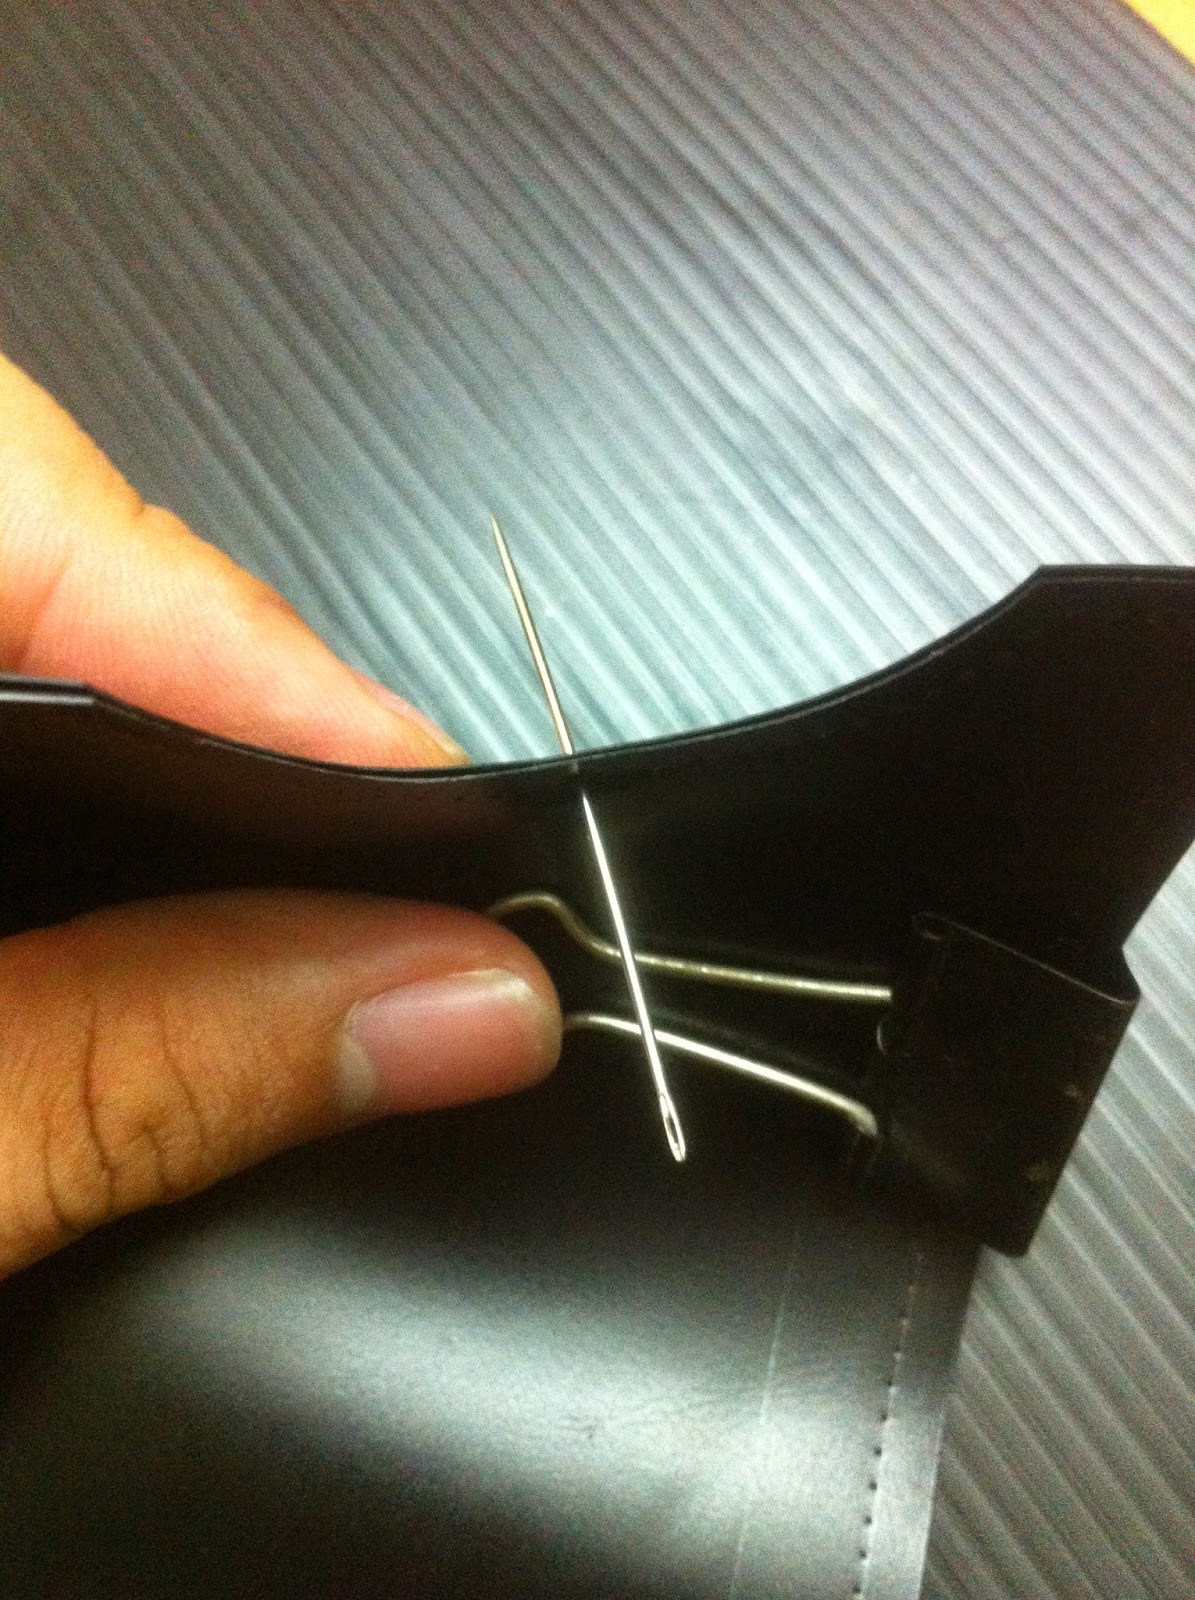
- a wire
- UHU a.k.a E6000 Glue
- 2 bead caps

You'll need ( for ring ) :
- keychain rings / thin wire
- pearls of your choice, I used 3 100 mm & 1 200 mm pearls
- glue

 Measure out how much wire you'll need around your wrist and then cut the wire with a pair of pliers or wire cutter. Apply a generous amount of glue onto the wire and insert it into the pearl.

 Apply more glue on top and place the bead cap on. 

Repeat the same procedure for the other pearl. Then, allow the glue to set completely ( Waiting sucks I know, patience is a virtue right ? ) 

 For the rings, cut open the keychain rings, I have big fingers, so they fir me just right. 

 The next steps are exactly the same as the bracelet. 

These are some of the rings I've done, you can bend the wire to give it some shape, experiment with it.

TAA-DAAA your Chanel inspired Pearl accessories are done. What more could I say, DIY's are the best right ladies ? Comment for any inquiries and thank you for reading. xoxo

Photos by : me 


Thursday 24 April 2014

DIY #5 - Givenchy inspired iPhone cover

   The Givenchy A/W 12 collection still inspires me until today ( you can tell from my previous DIY ). This is a simple DIY, everyone should face no difficulty while doing it. The following are some of the pictures I drew my inspiration from in making my case.


Thing you'll need are : 
  • translucent / opaque iPhone case ( I'm using a iPhone 4 case )
  • card paper
  • pencil
  • paint ( red, black )
  • blade
  • sharpie
  • ruler
  • paint brush 


Start sketching out the design layout, the width for each red strips were 0.8 cm and the distance between each strips were 0.3 cm.


use a ruler to guide as you draw the black lines in between the strips with a sharpie or you could just paint it if you have good painting skills, unlike me.
Lastly, I cut out a star on the same paper I used, applied some white paint and glued it on top of the strips. It looks good without the star too but it wouldn't be Givenchy's collection without the star, especially this collection. Slip it into the case and you're done ! 

Photo by : Me 
Photo courtesy of GIVENCHY, no coyright intended